In today’s post we’ll share a recent project we completed, showing how the home looked beforehand and then throughout the home addition process.
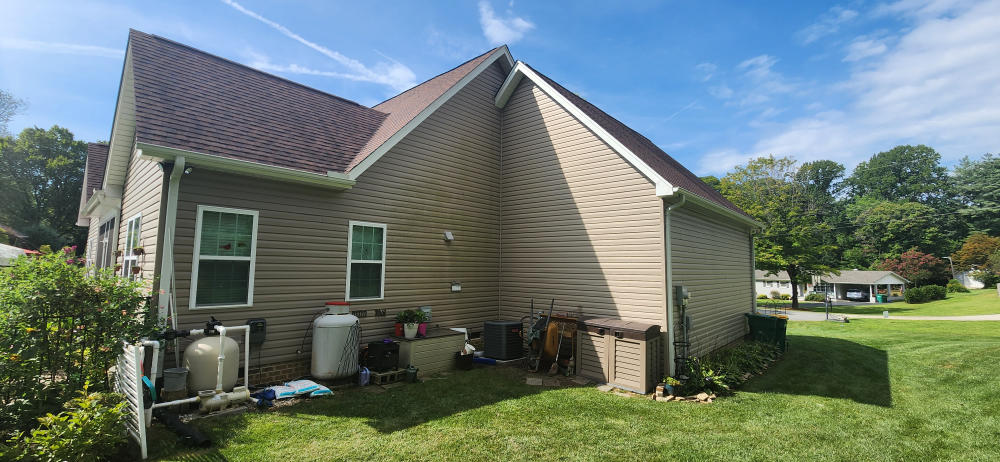
The scope of this project from a big picture level was to accomplish two things:
- Convert the existing adjoined garage space into a new living room area.
- Grade the nearby area of yard to allow the addition of a new, much larger garage added onto the previous, repurposed garage area.
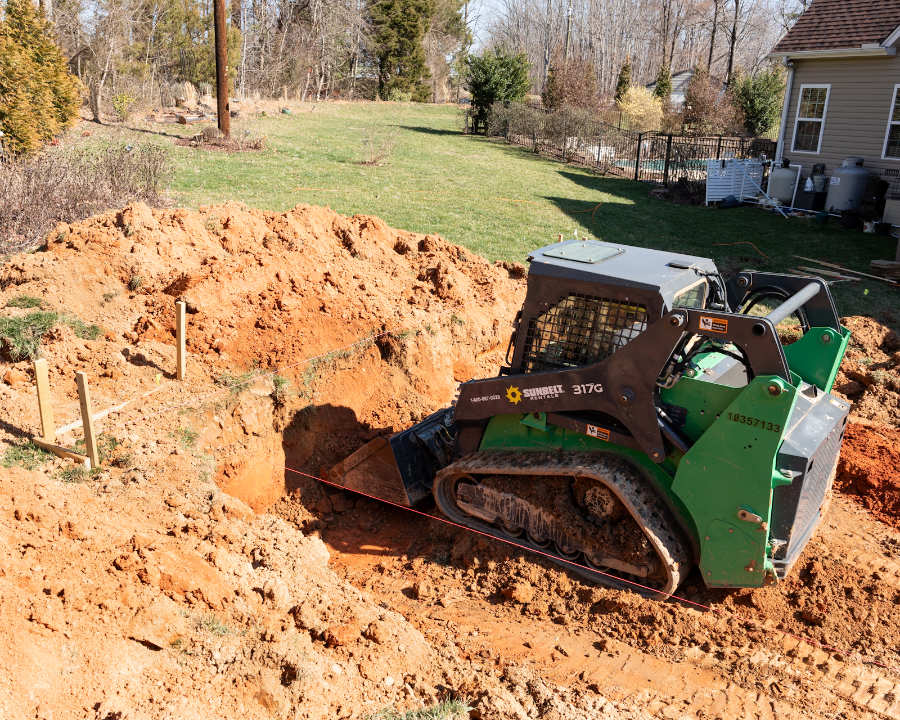
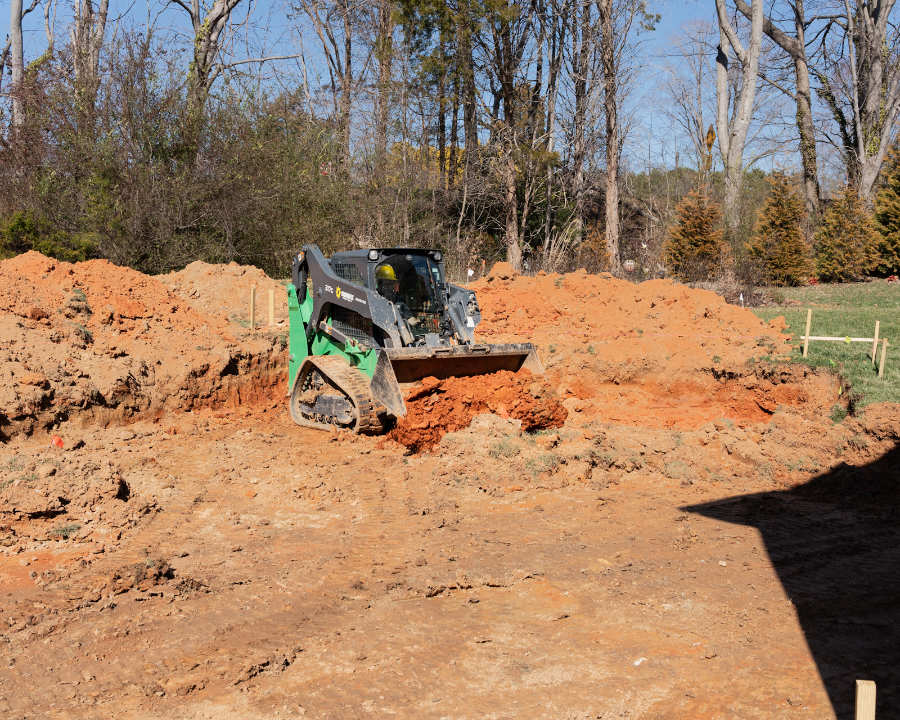
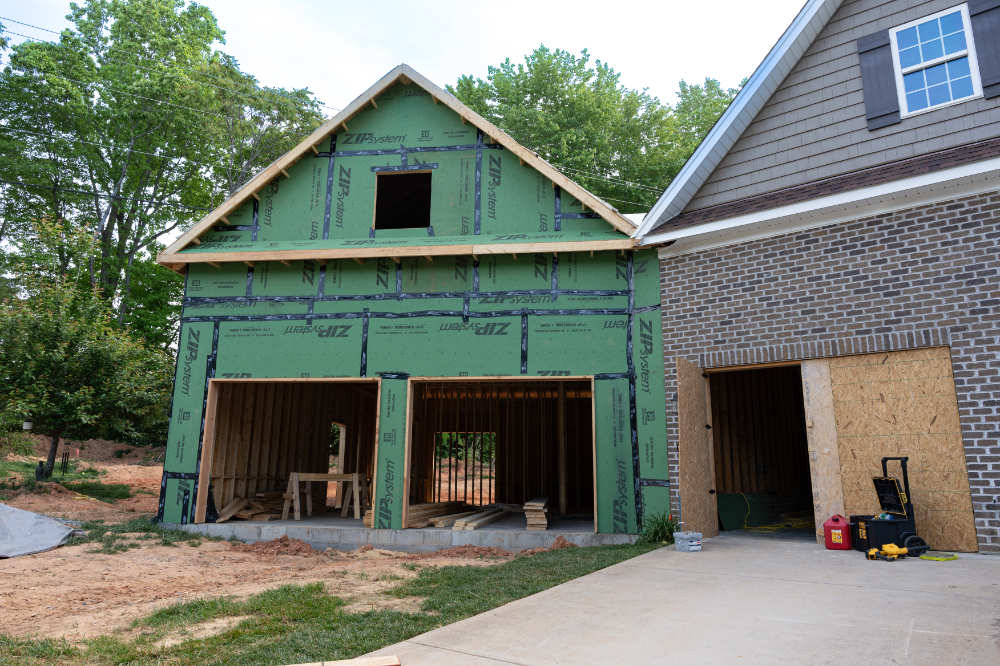
The first phase of this project went quickly because we were able to work on two aspects at once. One team worked within the old garage doing the conversion process while other crew excavated part of the side yard.
The excavation part was fairly extensive, since that part of the yard was on a steep incline as it headed into the backyard. In order to level it for the new garage area, several feet (depth) of earth needed to be removed.

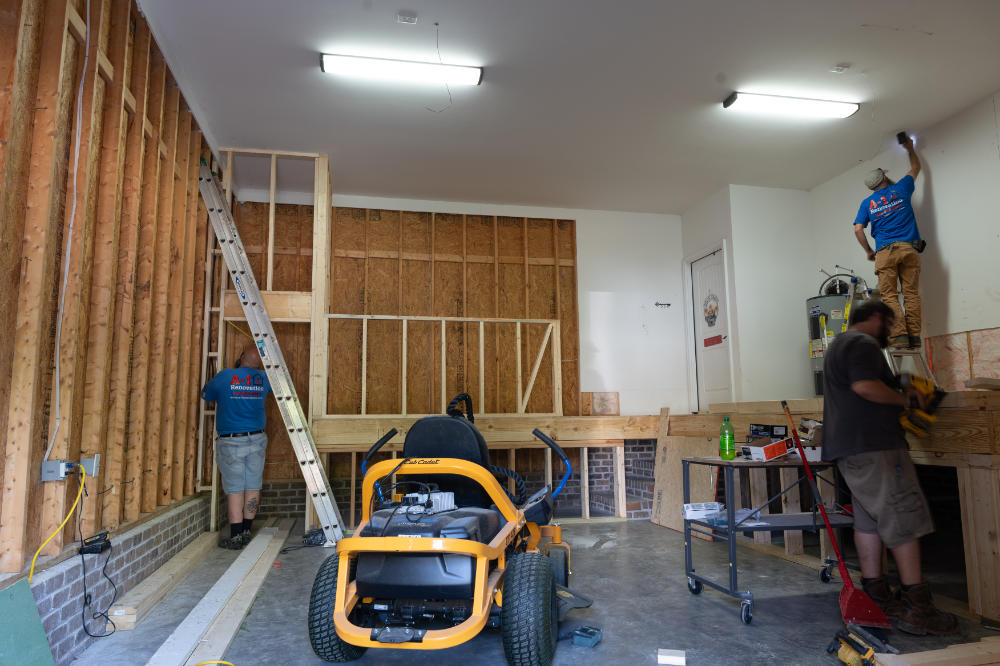
Work On The Inside Area
Here, the team was making headway reshaping the interior of what had been a garage. They set up the platform for what would be the top of a new stairway, with doorways ready to adjoin to the newer, larger garage.

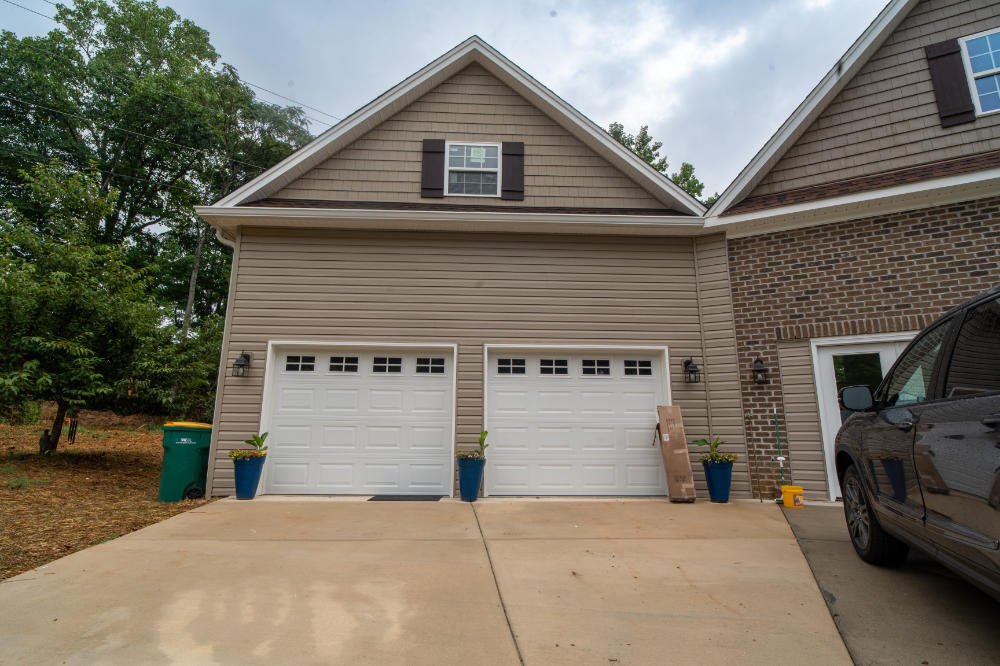
Exterior View Of The New Garage:
So, how did it turn out?
Here are the exterior shots of the new garage area added on:
Then, here are the interior shots of the newly converted living space:
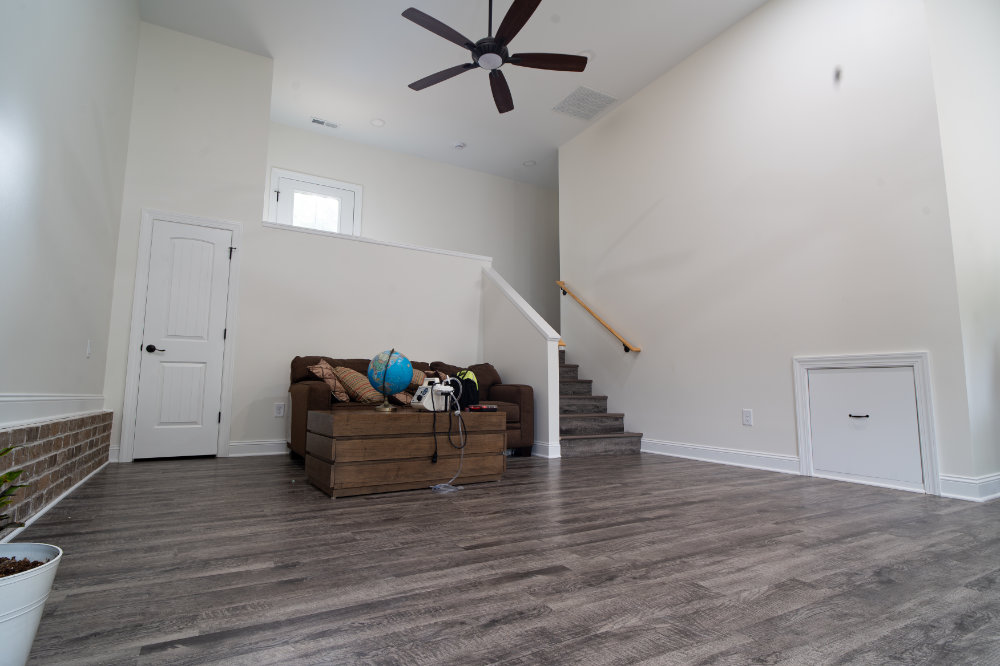
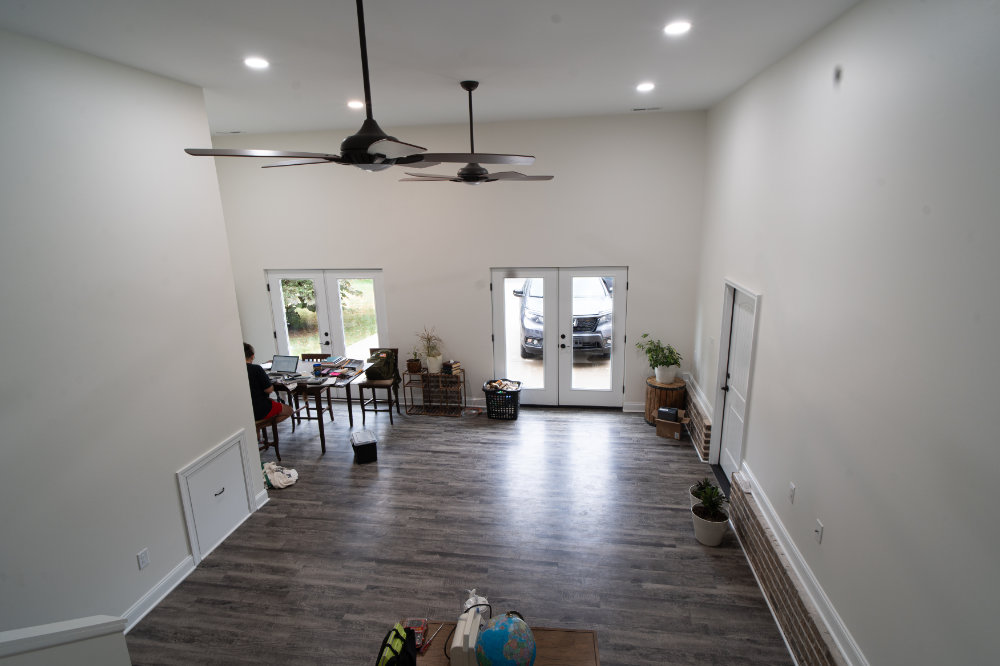
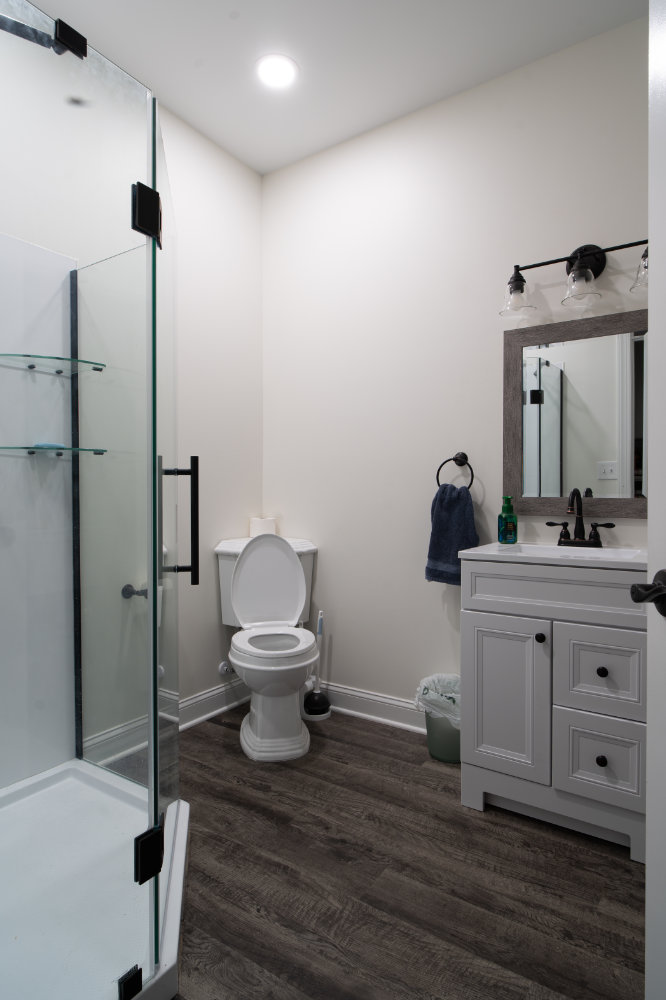
On the upper level, which then joins the main part of the house, the team also added a new bathroom.
The two car garage area was not available for interior photographs when we stopped by, unfortunately, but it added ample space for storage, vehicles, and even a gate doorway to the backyard for easy tractor access.
All in all, this is a great example of how significant home additions can be for adding comfort, quality of life amenities, and storage.
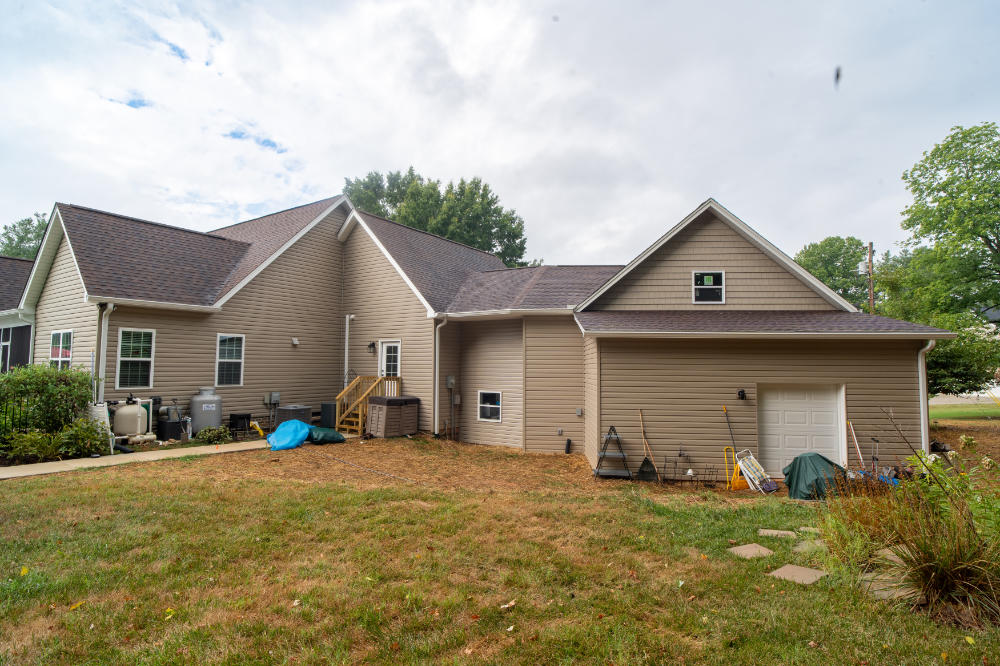
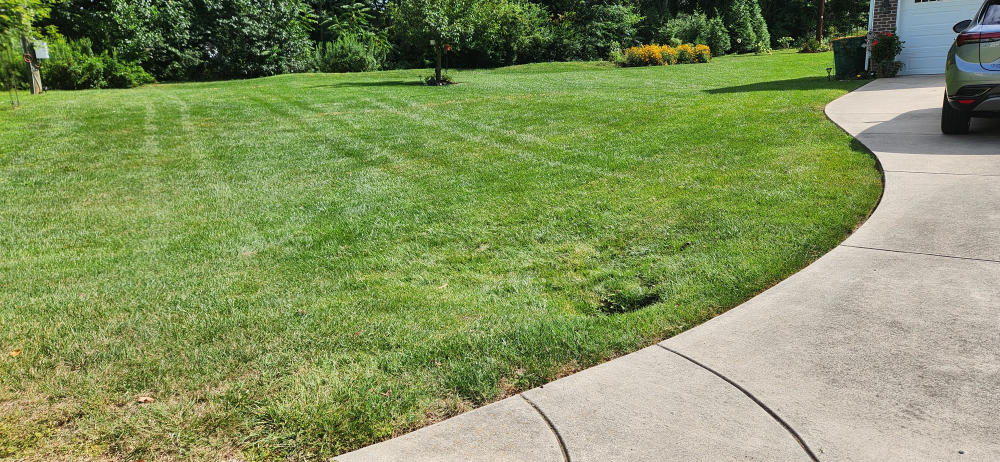
Phase 3: Improving The Yard Drainage
The last thing that needed to be addressed was the drainage for the yard. Particularly because we excavated and changed some of the surrounding yard, we needed to ensure that rain didn’t go downhill into the new garage and cause issues.
We re-graded parts of the yard to remove slopes wherever possible, which you can see here:
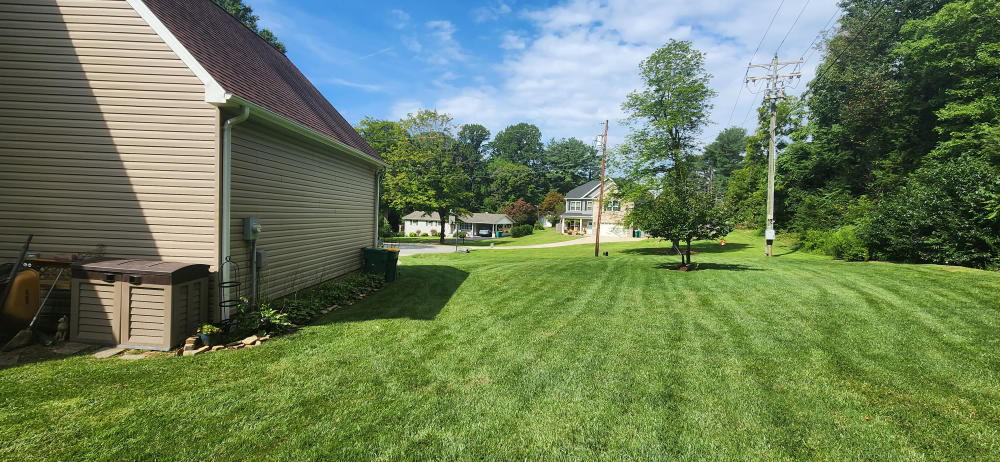
We created a new berm in the back corner of the yard, which stopped water from flowing downhill from that corner. Originally, the architect had not calculated certain aspects of the yard into the new garage design and missed this.
Now, there are 8-inch drain pipes at the bottom of the hill to absorb any leftover water that wasn’t solved by re-grading — which keeps the garage area much dryer.
Call us today to schedule a consult for your next remodel project — we’ll review costs and can optionally help create a plan of action for you so you’ll know exactly which steps to take and what your options are.