The goal to convert a garage into a finished living space is a popular remodel idea. It’s ideal for a home that’s grown with a family over the years, where the family finds itself in need of some additional living space.
One such project we completed in Winston Salem was the perfect setup for such a remodel.
The family hadn’t used the garage for much, but was also concerned that converting the garage might become an eyesore for the front of the house, since the garage door was front and center coming up the driveway.
What would happen when that garage door was removed?
The Process of Converting the Garage
One of the early steps was to rework the exterior, the frame of what would eventually be the new interior living space.
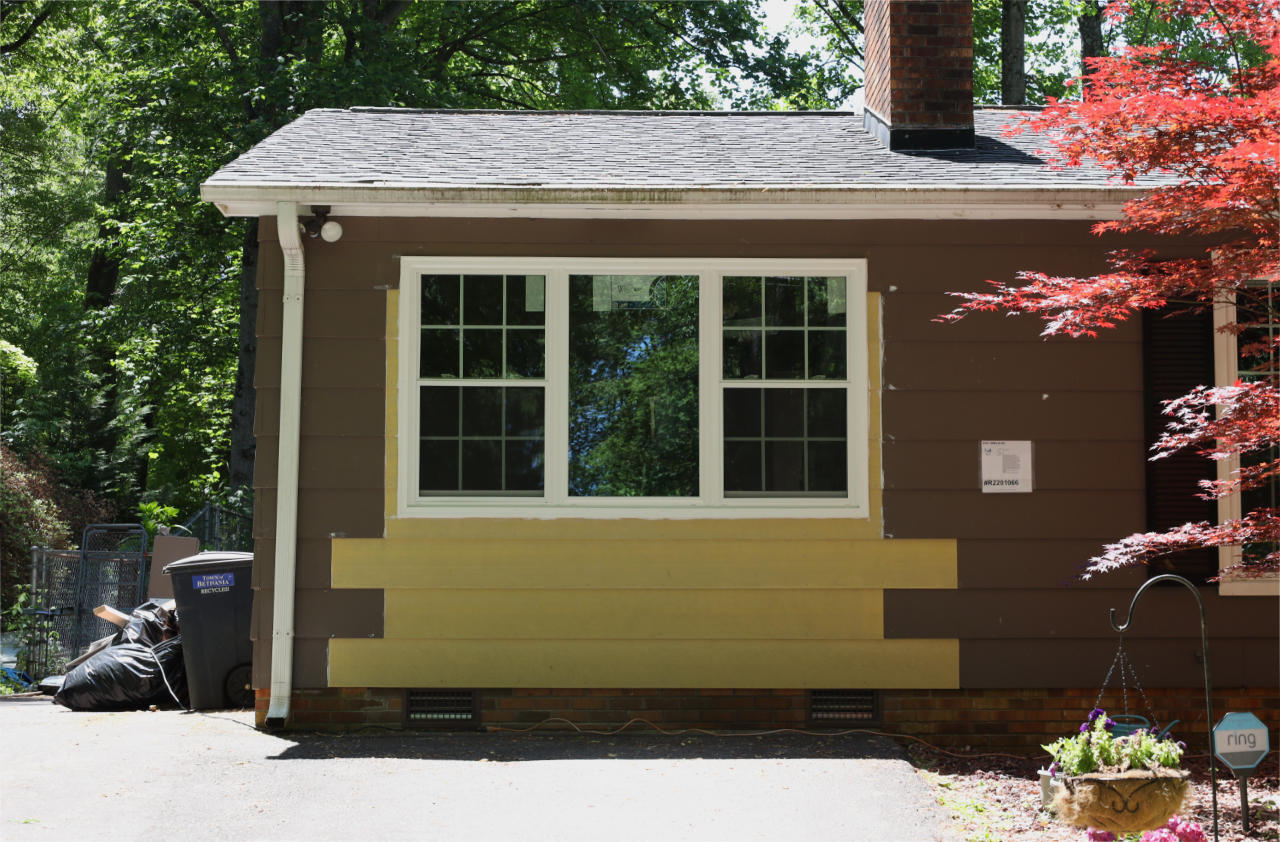
As you can see, the gap where the garage door once was became the perfect opportunity for windows, surrounded by new wood siding that can be painted to match the rest of the house.
After shoring up the wall and restructuring it, a 3-piece vinyl window fit nicely into place.
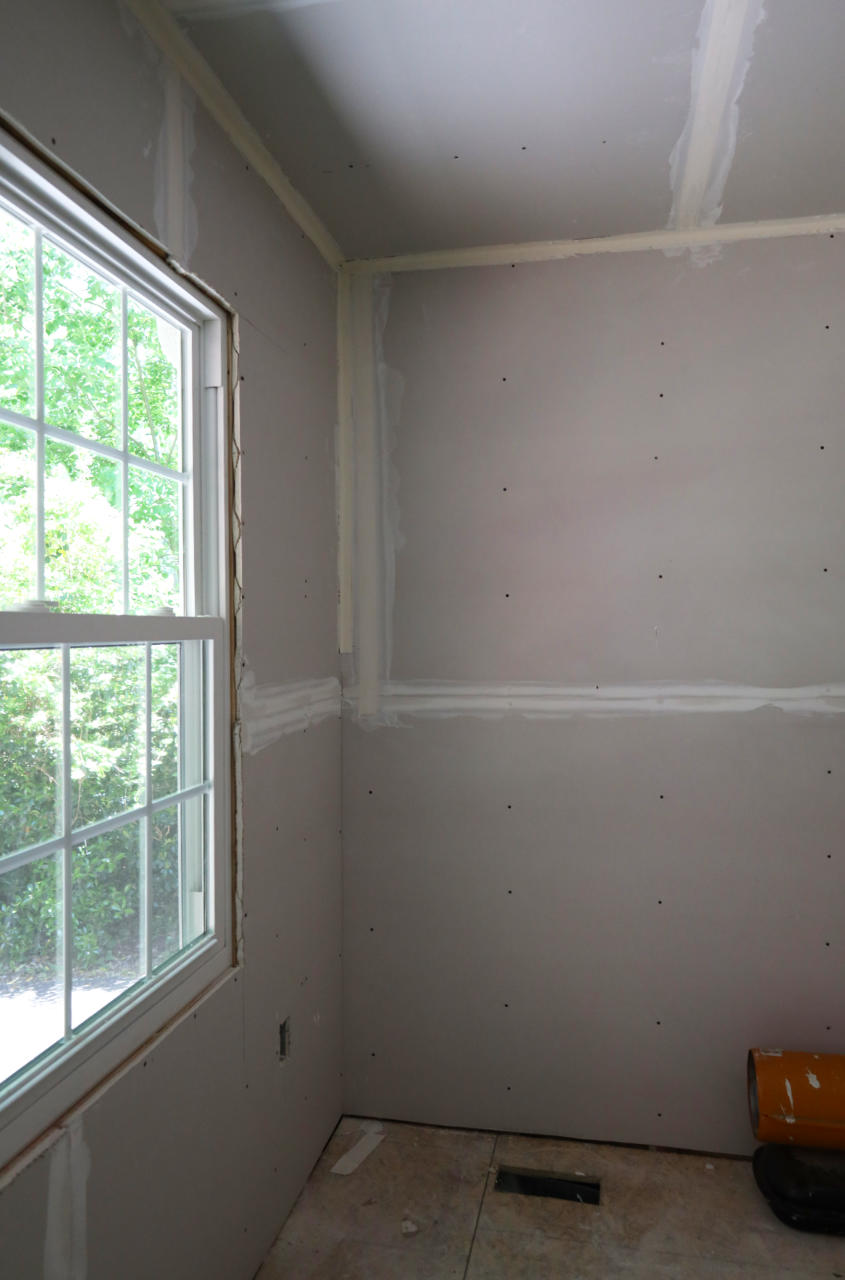
Here is the same window from the inside:
With the outside sealed up, we could then move onto the inside.
The next pieces on our list were to install floor joist structural system with subflooring, providing 20 inches above the original concrete slab and plenty of room for insulation.
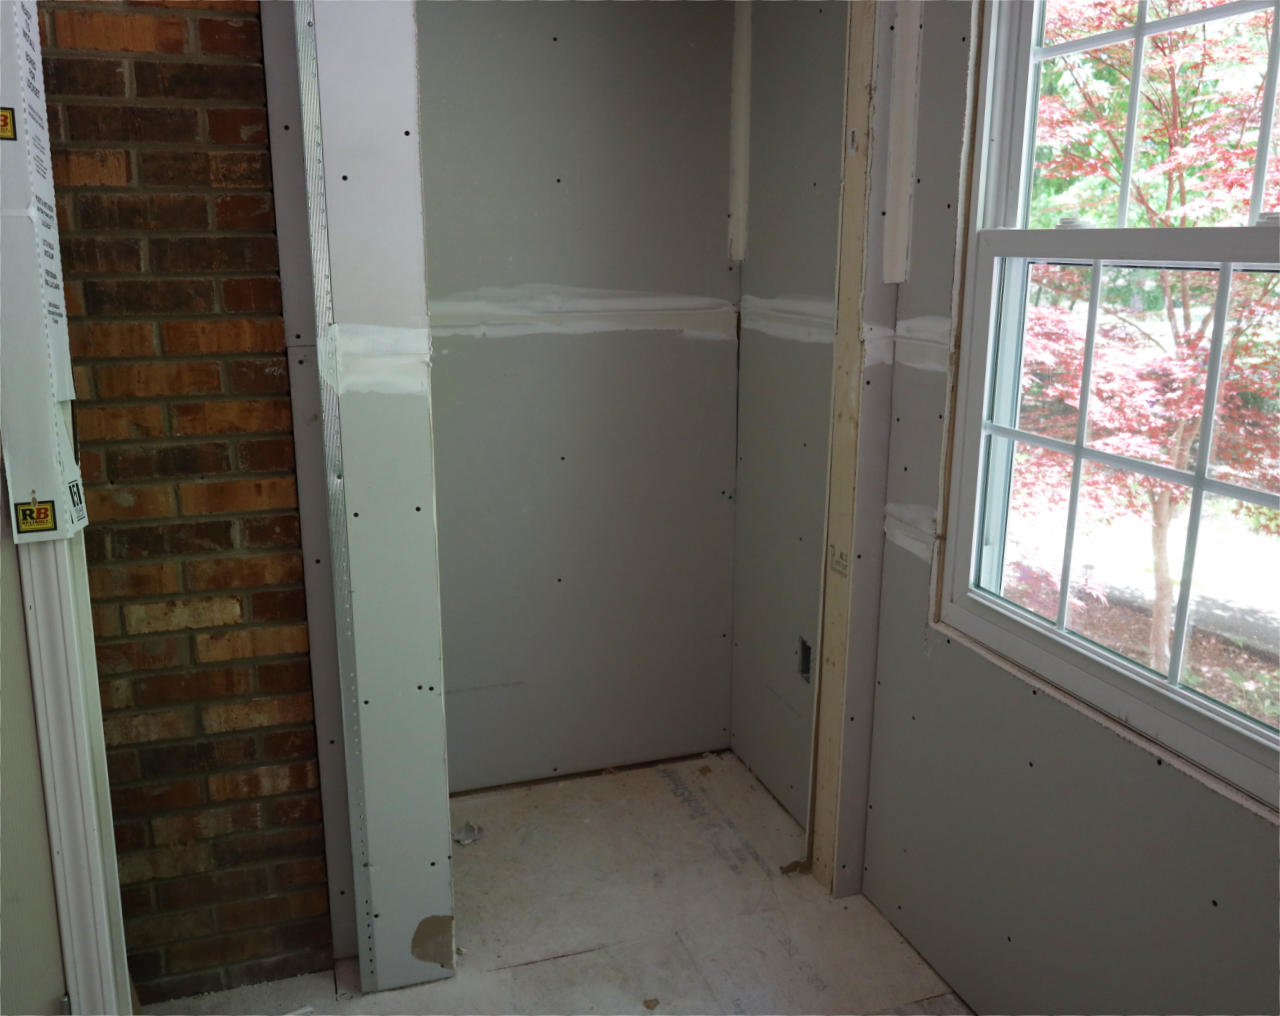
A 2x4x8 partition wall was next up, which created the layout needed for a bonus room with a closet, hallway, and laundry room.

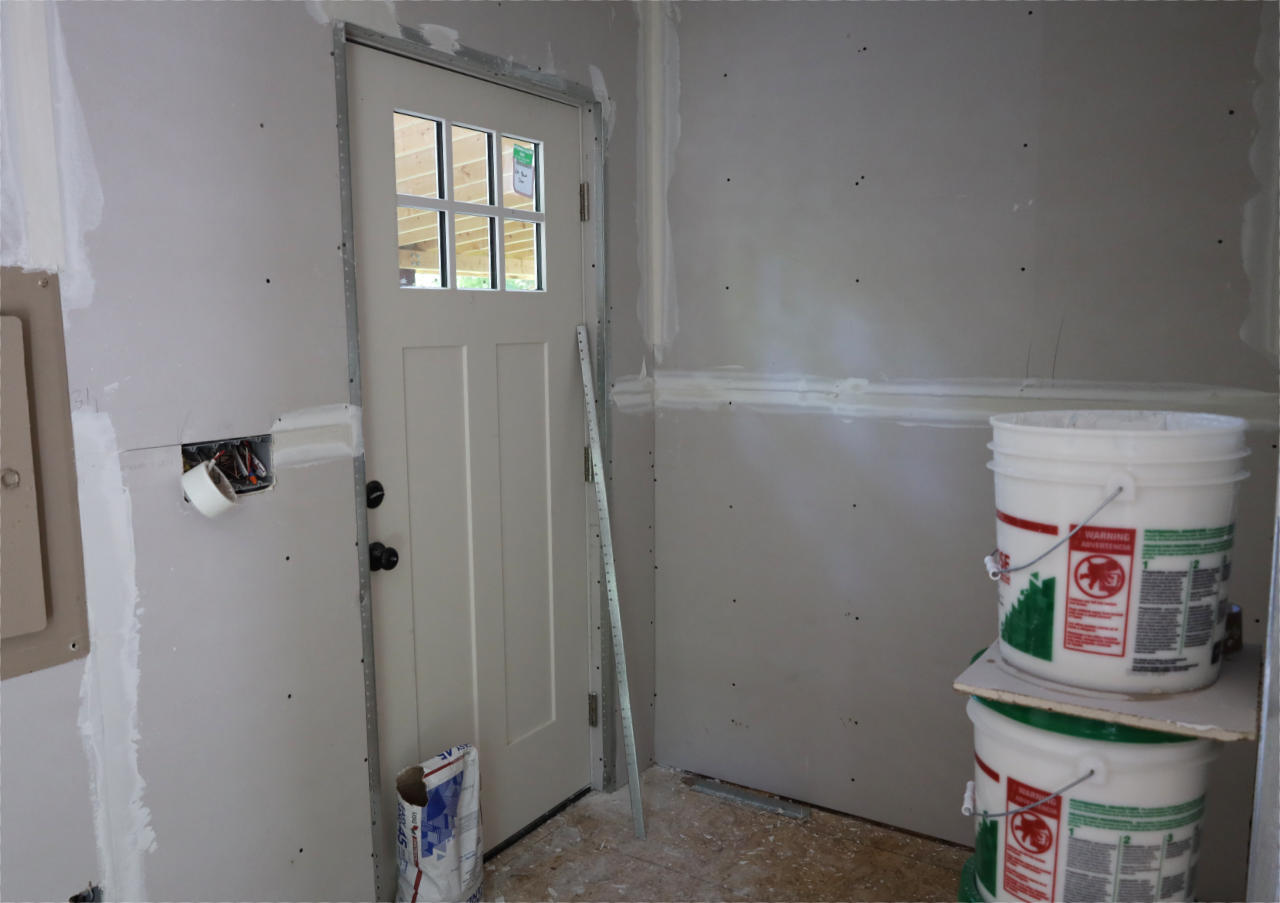
The left side of that hallway features a newly framed out exit door, with two stair steps on the outside to accommodate the new 20″ interior floor height.
All windows and doors framed out were installed over the sheathing to patch the exterior surfaces. We used moisture-resistant “Tyvek House Wrap” to create a strong replacement.
Lastly, we added plywood around a section of ceiling joists to create an attic, with a ladder and attic access.
Insulation, Trim, and Painting
The interior hallway walls, as well as the existing exterior walls were never insulated previously. Part of this phase included installing R-15 insulation throughout, including R-19 insulation in the floor joists and R-38 in the ceiling joists.
Along the way, as you can see in the photos above, standard 1/2″ sheet rock gave each of the walls the finished feel the space needed. For the laundry area we used green 1/2″ moisture resistant sheet rock to avoid the heat and possible humidity from causing issues.
Next up will be to apply primer and paint to the walls, and then installed engineered vinyl plank flooring for the hallway and laundry area, with carpet in the main area of the bonus room.
New Lighting
The new area lighting will include 6x 6″ LED recessed fixtures — all operated by a dimmer switch.
Call us today to schedule a consult for your next remodel project — we’ll review costs and can optionally help create a plan of action for you so you’ll know exactly which steps to take and what your options are.
This post is part of a series where we share examples of projects we’ve worked on. Click the link if you’d like to see more of them.